Waterproofing
Seeing as we the entire system will be underwater there are several parts that needed waterproofing. These can largely be split into a dry hull that houses the electronics and a separate waterproofing of the pump system (valve and servo).
Electronics Hull Waterproofing
Waterproofing our control system is essential for the robot fish. There are several considerations around how to waterproof the microcontroller and associated electronics. Our primary design constraints regarded that the housing needed to be 3d printed and fit within the size constraints of our fish.
Dome Head (V1)
Originally we planned to divide the fish into 3 sections laterally in which the head would be a dome shape and would house the electronics. This also fits well with the positioning of the camera in the front. At this stage we were hoping to make this hull disassemblable via a gasket seal and machine screws. We went so far as to CAD a model of this that would allow us to mold a silicone seal to fit the pi within a dome shaped head.
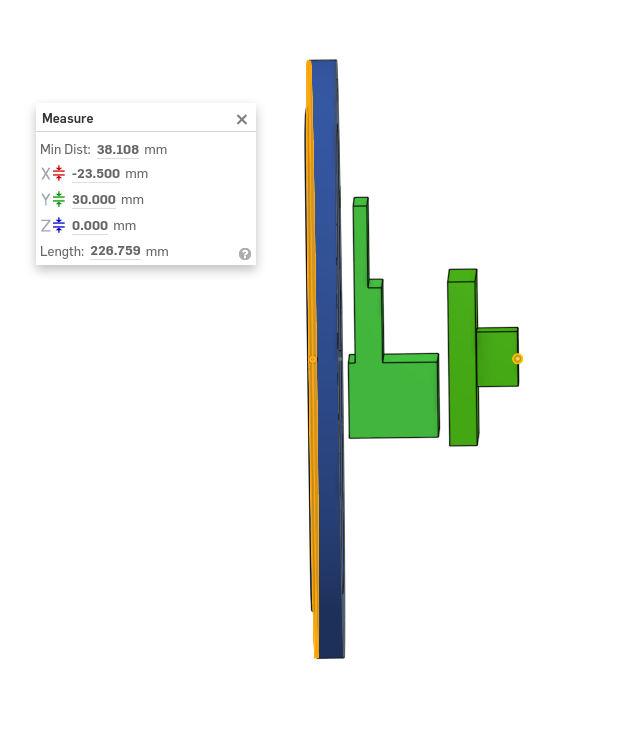
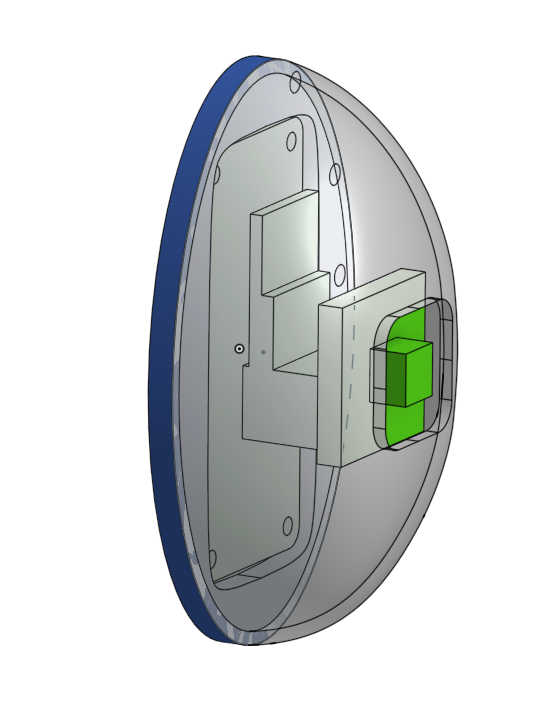
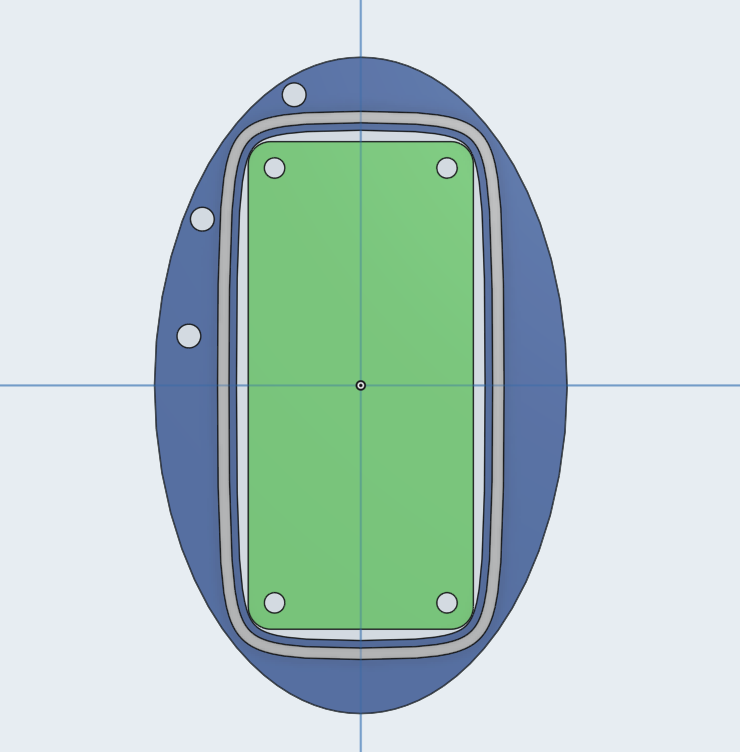
As the pump design was also developed we realized that the head would not have this much space. We also realized that the space constraints made it increasingly difficult to fit our electronics in the space while leaving room for a gasket. The gains from using a gasket ended up being smaller than the risks and design effort so we switched to building a model which would be sealed with epoxy. The electronics would be powered via a tether and programmed via Wifi above water!
Top Head (V2)
We also realized that there was a significant amount of unused space on the top of the fish. This space would be ideal for a dry hull as the fish’s roll stability is helped if the top parts are buoyant. This led to a new 3 piece design(V2) that can be sealed via epoxy, fit 2 Mosfets, the Pi, and the camera. These pieces are sealed via epoxy and a clear piece of plastic is epoxied in front of the camera. The tether wires and hole/spout are sealed via epoxy as well.

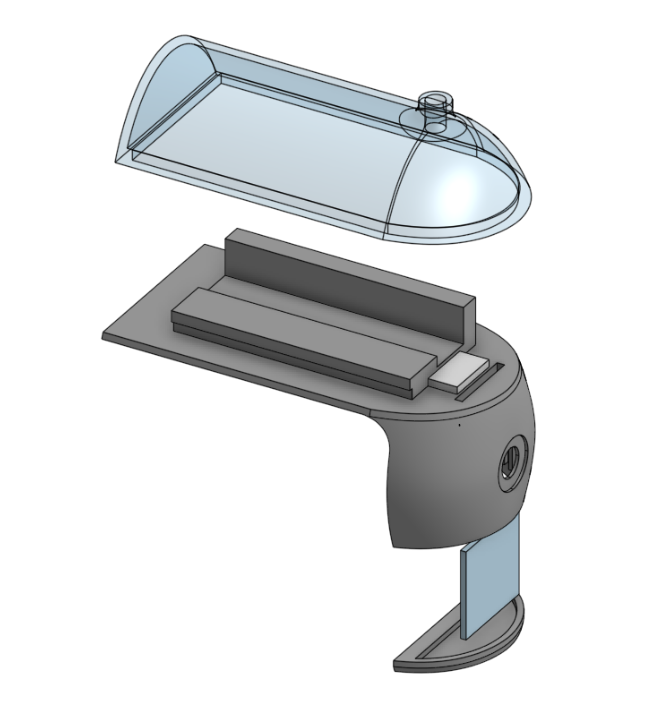
We printed this design and did some tests to make sure our electronics would fit in the space and that the prints themselves were waterproof.
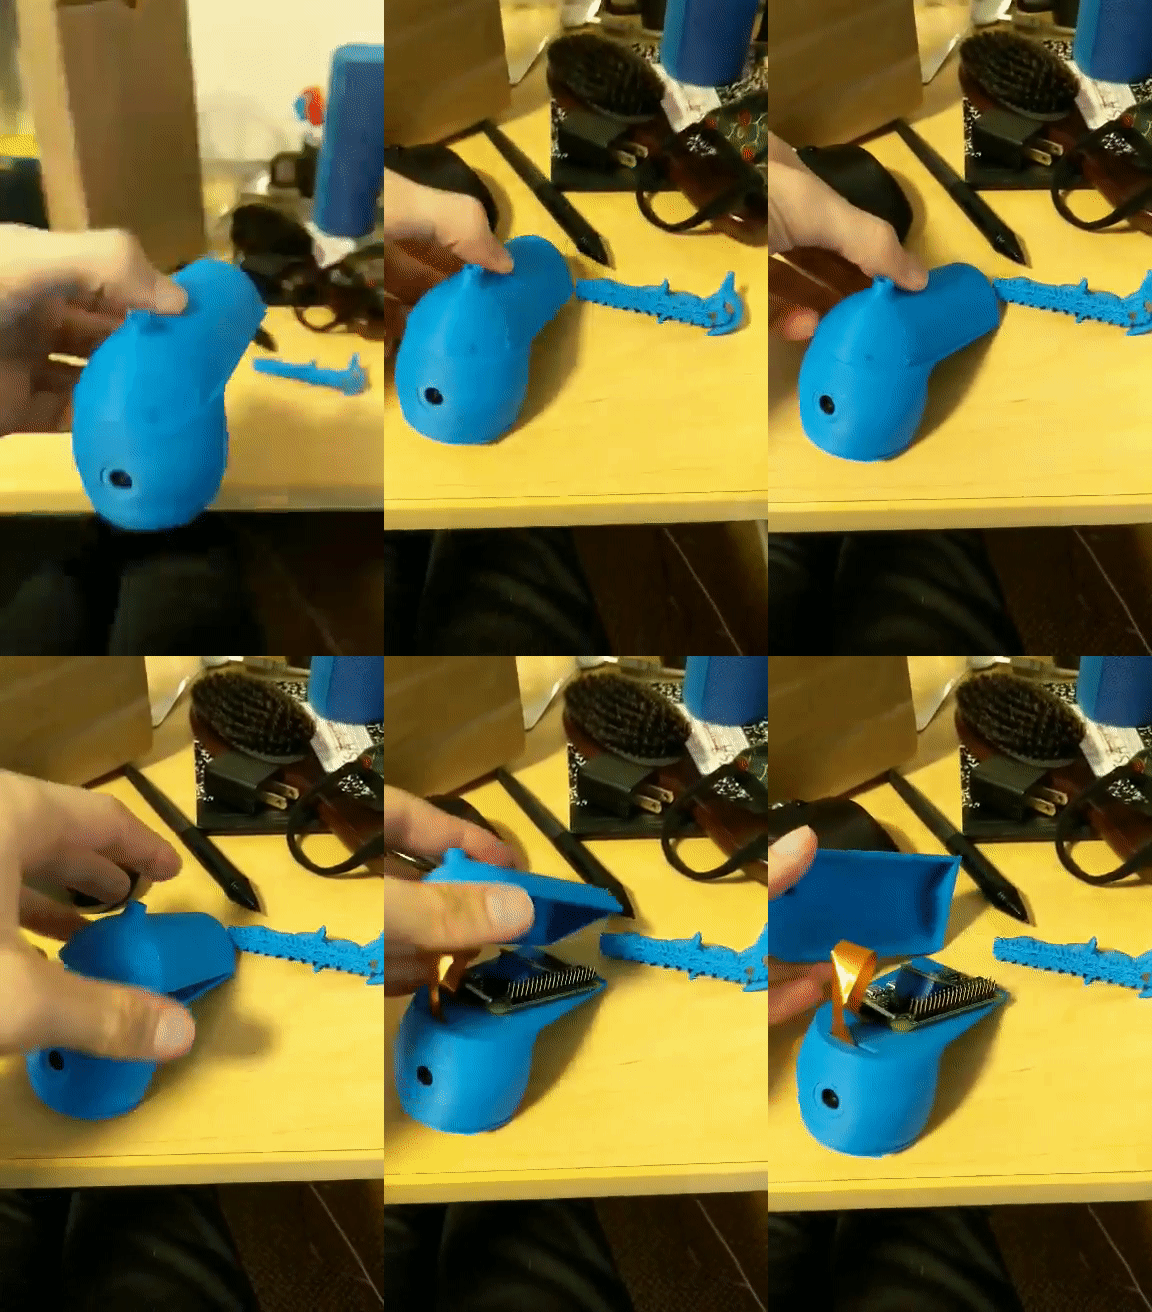
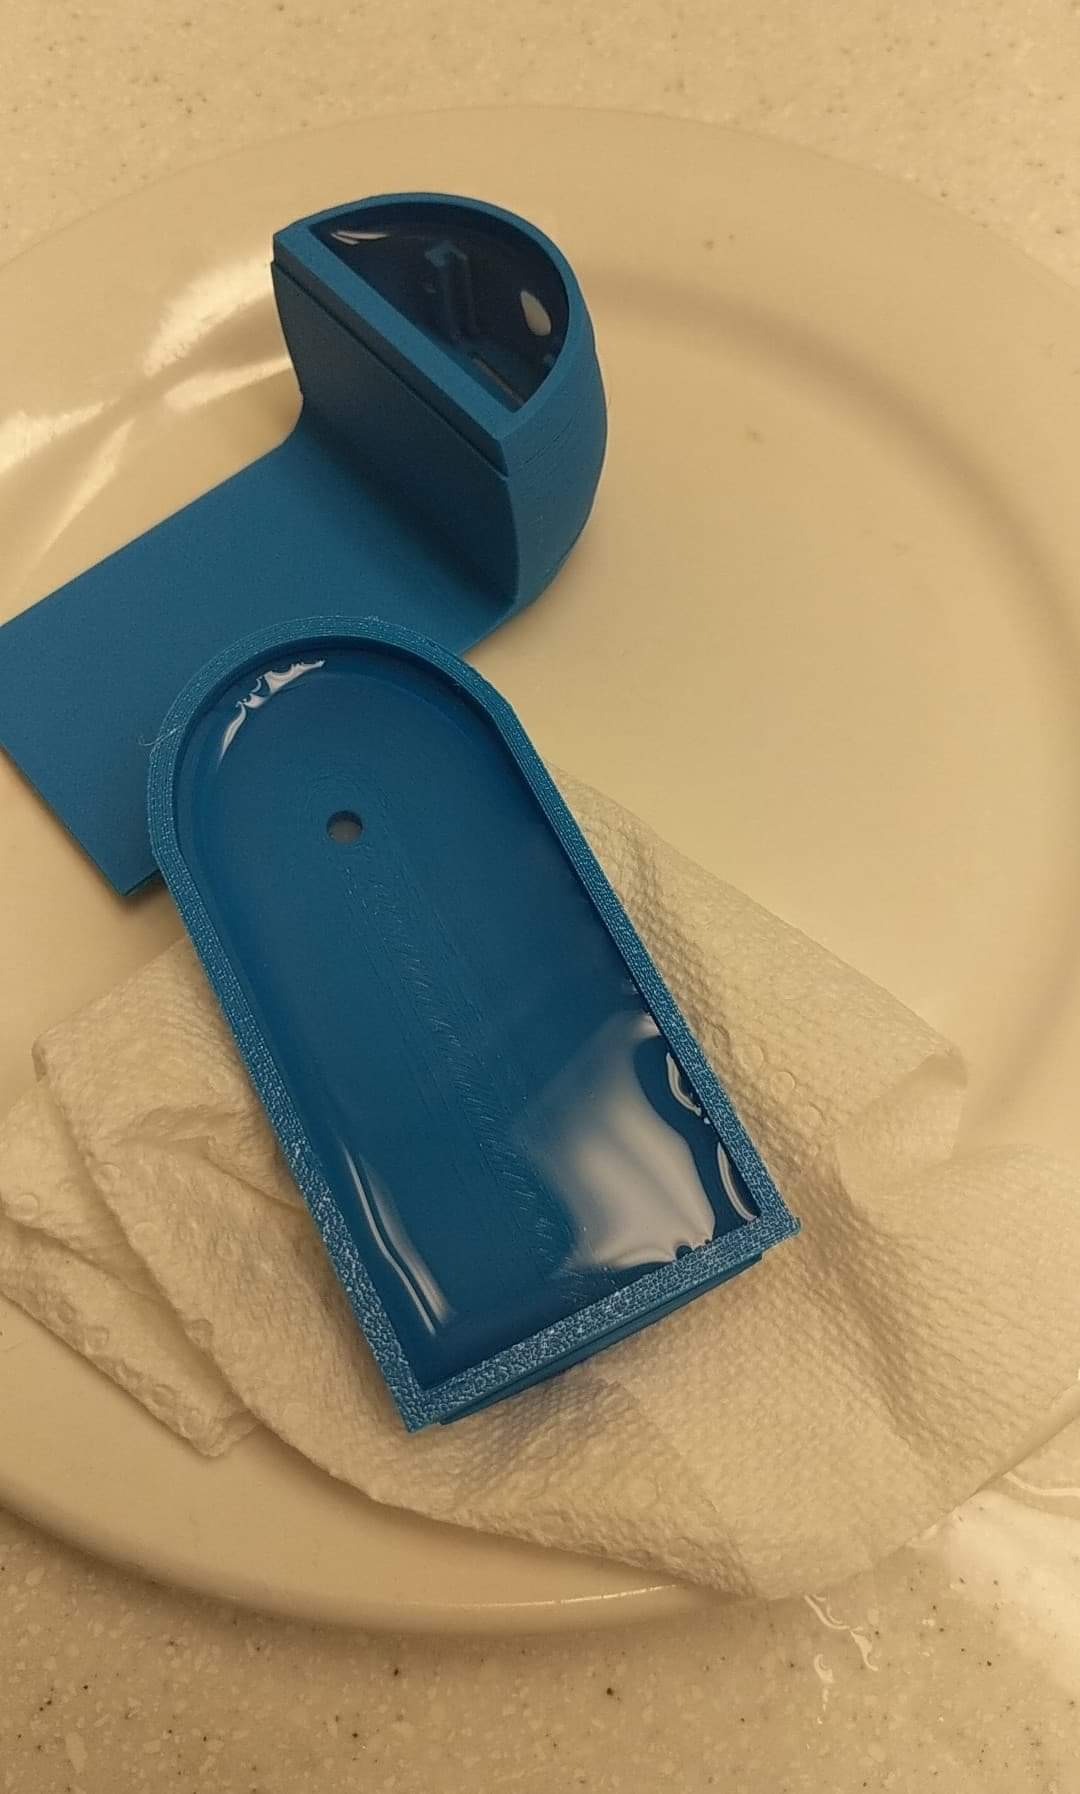
This design leaves a reasonable amount of space for the rest of fish and allows us to stay close to Sofi’s dimensions.
Pump System Waterproofing
Buying waterproof servos off-the-shelf would have been quite pricey, and since we were only creating prototypes that would be in shallow water for short durations of time that seemed like an excessive expense for our limited budget.
Our first attempt of waterproofing servos involved filling the servos to the brim with white lithium grease and hoping that the grease alone would be enough to keep water out of the servo.
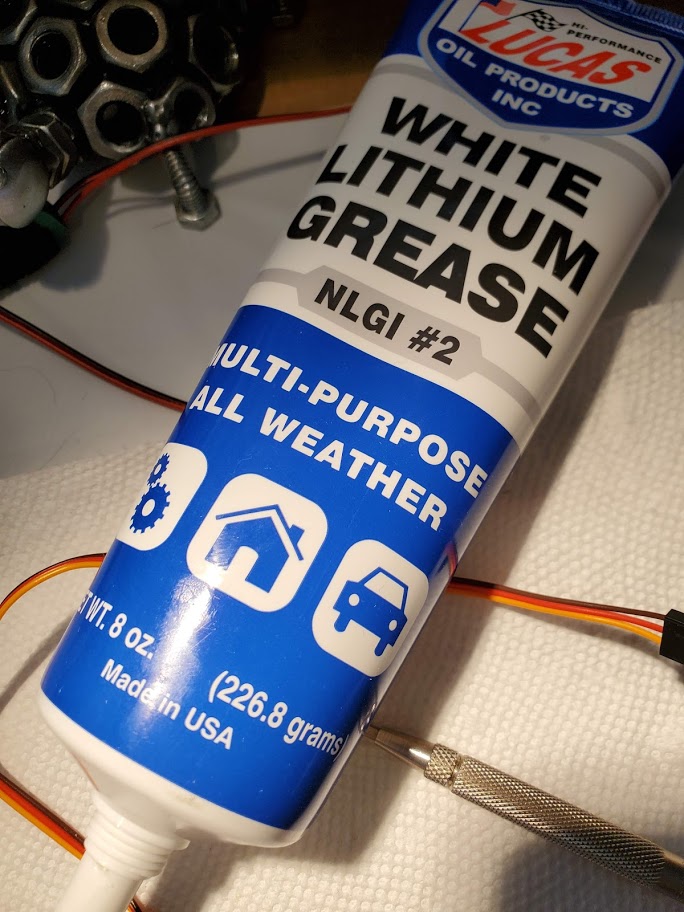
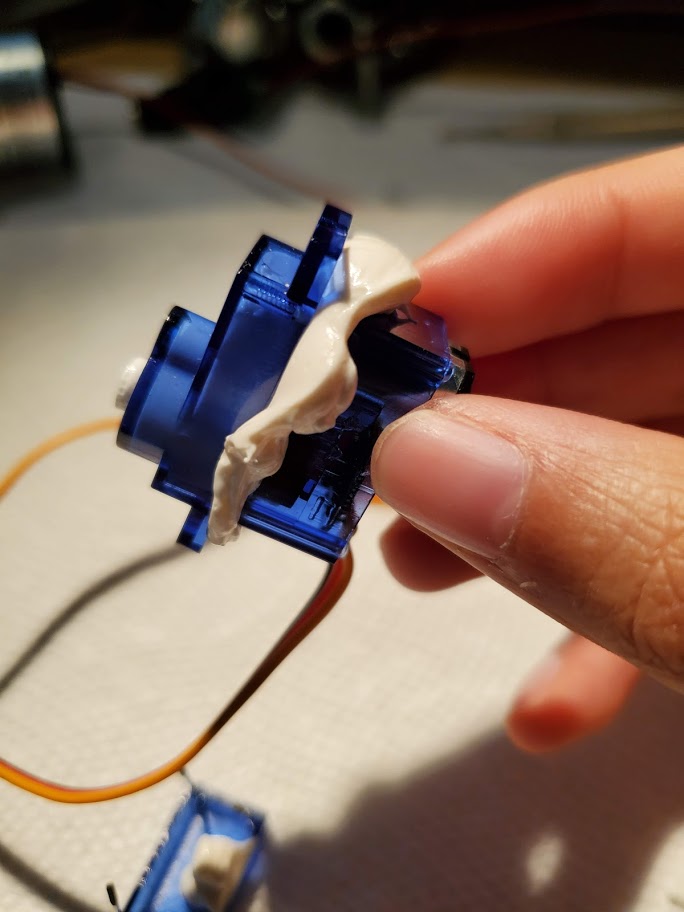
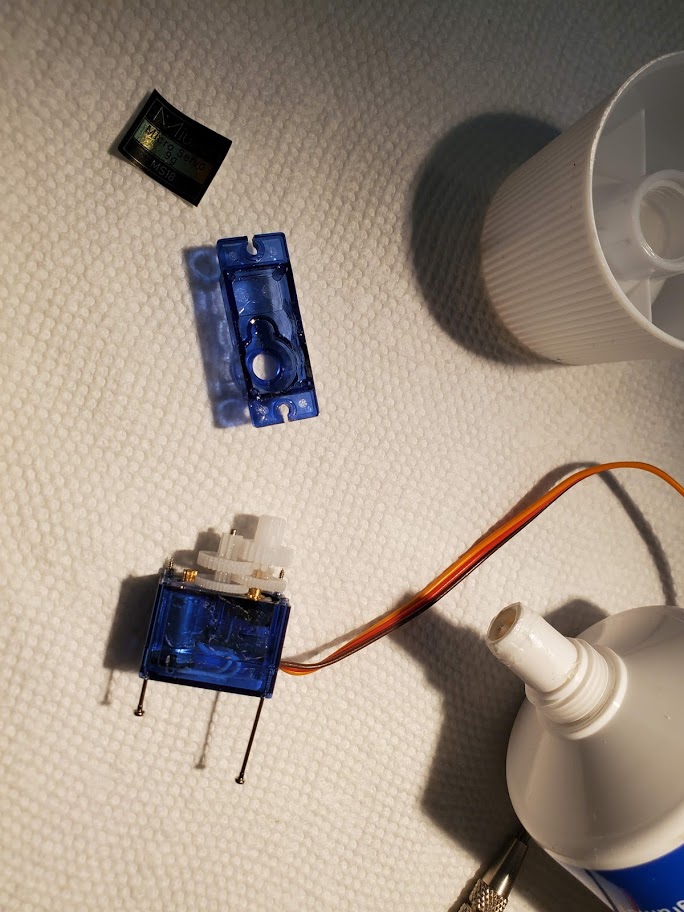
Unfortunately, the lithium grease was too viscous for the small 9g servo, and so after we sealed it back up the servo could no longer move.
This time, we ordered 9g servos with metal gears (MG90S servo - Amazon link) since they had more torque for the same sized servo. We also chose to fill the servos with mineral oil instead of lithium grease since the oil is less viscous. However, since the oil is less viscous, we were concerned about potential leaks near the point of rotation, so we also purchased O-rings (7.5mm OD, 4.5mm ID, 1.5mm Width - Amazon link) that fit well onto these servos.
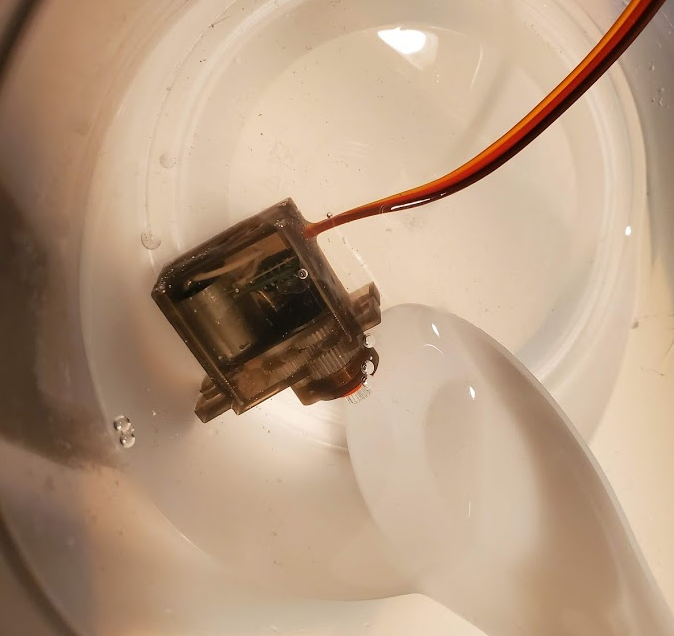
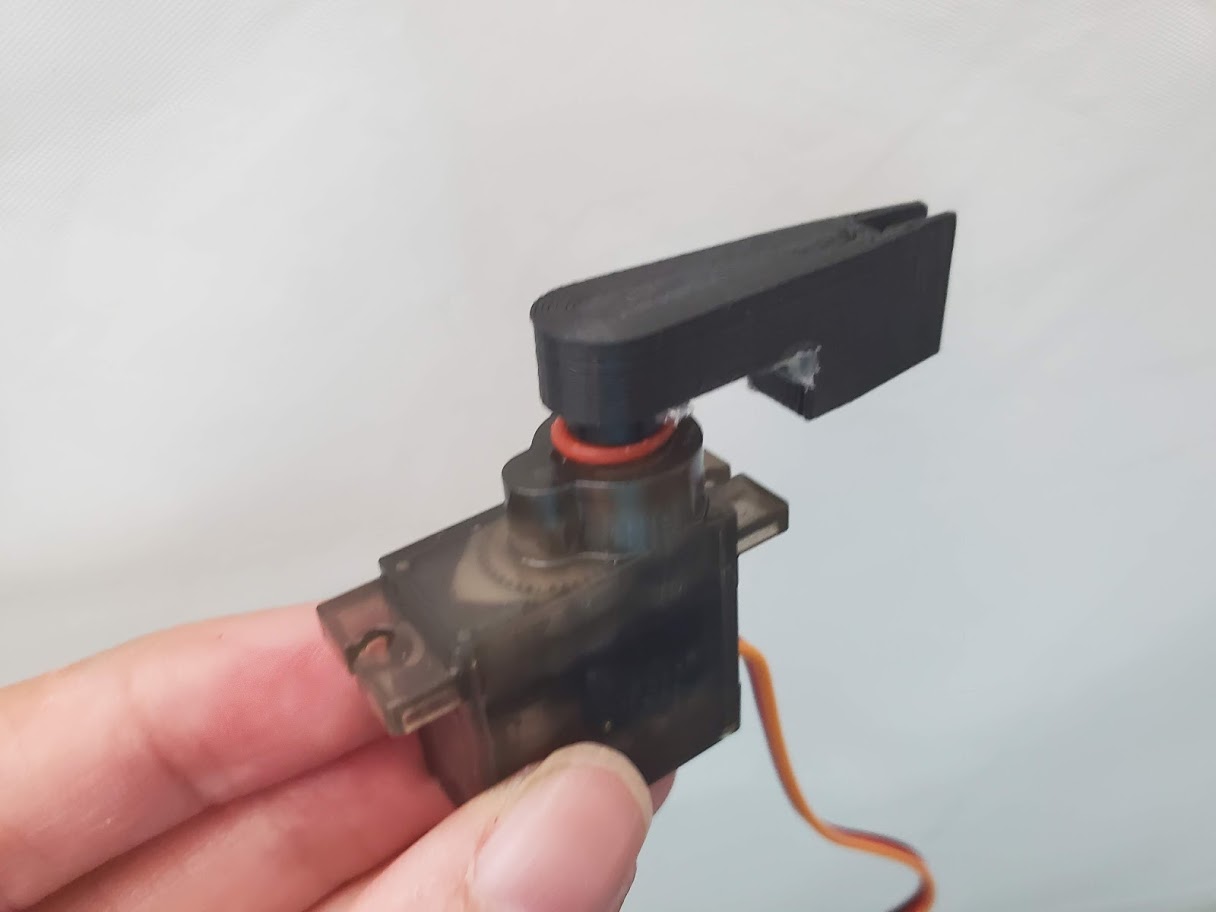
Waterproofing this servo worked well for the first 5 minutes or so, but after a while of running underwater it began acting a bit strange - it ran as expected most of the time, but every now and then it would just stop for awhile before resuming. I’m not sure if this is caused by water getting into the servo, but for the next fish iteration, we decided to coat the servo in epoxy after filling it with oil to ensure it was properly sealed.
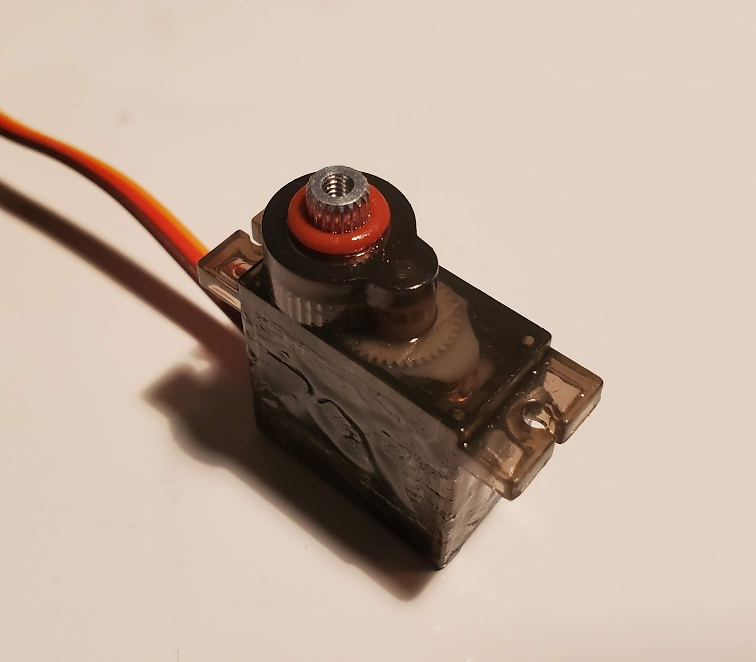
Epoxy takes a long time to cure, but it was well worth the wait considering that this servo worked without issues. The mount dimensions needed to be adjusted slightly since the epoxy added some thickness to the plastic housing, but this was straightforward to do.